Taking a picture with an iPhone is easy. Creating a memorable photograph takes a closer look at how light shapes a subject, how framing guides attention, and when to stop editing. You do not need to buy another phone to improve these fundamentals: even a brand-new camera cannot make every creative decision for you. This guide covers portraits, pets, landscapes, architecture and products, with practical settings and clear notes about model compatibility.
Editorial note. This guide separates photographic principles that work on any iPhone from tools that depend on the model and iOS version. Individual control names may vary slightly.
1. Before shooting: prepare your camera and choose the format
Your first improvement is not hidden in an advanced menu. Wipe the lenses with a soft, lint-free cloth, check that your case does not obstruct the camera and look carefully at the available light. Fingerprints can create flare and reduce contrast; no editing tool can fully recreate detail that was never recorded.
Open Settings > Camera and turn on Grid and Level if available. They help with horizons and architecture. You can also select different aspect ratios, such as 4:3 or 16:9. For general photography, 4:3 is a useful starting point because it keeps the camera's native framing, leaving cropping decisions for later.
Try this: photograph a desk without the grid, then repeat with the grid visible. Notice the margins and vertical lines. The grid is not a creative rule you must obey; it is a decision-making aid.
2. Composition: the rule of thirds, leading lines and negative space
Compelling photographs establish a clear visual hierarchy. The rule of thirds places the main subject near one of the grid intersections instead of automatically centring everything. For a seascape, place the horizon near the upper third when the waves matter most, or the lower third when the sky deserves attention.
Leading lines—roads, paths, walls and shorelines—can guide the eye. Symmetry works well in corridors and façades, while negative space helps portraits and product photographs breathe. Try changing your camera height. Photographing a dog at eye level creates a very different relationship from pointing the phone down from above.
Before pressing the shutter, inspect the four corners of the frame. A pole behind someone's head, a distracting bin or a bright object can weaken the subject. Moving two steps sideways often improves the result more than ten minutes of editing.
3. Lighting: golden hour, window light and backlighting
Light defines texture, colour and the feeling of depth. Early morning and the period before sunset are commonly called golden hour: the light often comes from a lower angle and has a warmer character. It can flatter portraits and landscapes, but it is not the only useful light. Overcast skies create soft, even illumination that often works beautifully for faces and products.
Indoors, move your subject close to a window and let the light arrive from one side, roughly 45 degrees off-axis. The result reveals shape without forcing heavy shadows. If possible, avoid mixing daylight with lamps of very different colour temperatures, which can make skin and objects look inconsistent.
When shooting towards the sun, decide what matters. A face against a bright window may look dark; tap the face and adjust exposure. If you want a silhouette, expose for the sky instead. There is no single correct exposure for every scene—only a choice that supports the intention of the photograph.
4. Focus and exposure: take control of automatic shooting
The iPhone automatically identifies subjects and adjusts the image, but you can tell it what matters. Open Camera, tap the area you want sharp and drag the exposure control beside the focus point to brighten or darken the image. To hold both settings, touch and hold the focus area until AE/AF Lock appears; tap again to release it.
This is helpful for someone standing in front of a window, a dark object on a white table, or a sunset whose light changes quickly. On supported iPhones with Camera Control, you may also be able to reach some settings through the physical control.
Practical test: capture the same scene three times: once on automatic, once slightly underexposed and once brighter. Zoom into the results and compare cloud detail and shadow texture. In bright landscapes, a small reduction in exposure can preserve highlights that are very hard to restore after they have clipped.
5. Lenses and zoom: choose perspective before megapixels
Not every kind of zoom is equal. An ultra-wide camera fits more into the scene, but exaggerates perspective near the edges. The main camera is often the best all-round option. If your iPhone has a telephoto lens, use it to isolate distant details or frame portraits from a more comfortable distance.
The zoom values you see may represent separate cameras, sensor crops or digital enlargement, depending on the model. That is why more zoom does not automatically mean more detail. Move closer when it is safe and practical, and compare actual sharpness when viewing the results at full size.
Compatible devices let you change resolution and select formats such as higher-resolution HEIF or Apple ProRAW. Larger files cannot correct poor lighting or weak composition. Use high-resolution capture when fine detail or later cropping genuinely matters; ordinary formats are usually more convenient for daily sharing.
6. Portraits: expression, background and depth of field
Strong portraits prioritise the eyes and expression. Position the person a little away from the background, look for soft side lighting and remove anything that appears to grow out of their head or shoulders. Where you stand and how you relate the subject to the background matter just as much as software blur.
On supported iPhones, switch to Portrait mode in Camera. The device uses depth information to separate the subject and blur the background. After capture, you can adjust the strength of the effect in Photos. Avoid pushing it so far that hair, glasses or ears acquire unnatural edges.
With children and pets, prioritise expression and timing rather than a rigid pose. Watch for genuine interactions. If Portrait mode struggles with fast movement, switch back to ordinary Photo mode and concentrate on a sharp, well-timed frame.
7. Landscapes and architecture: straight horizons and scale
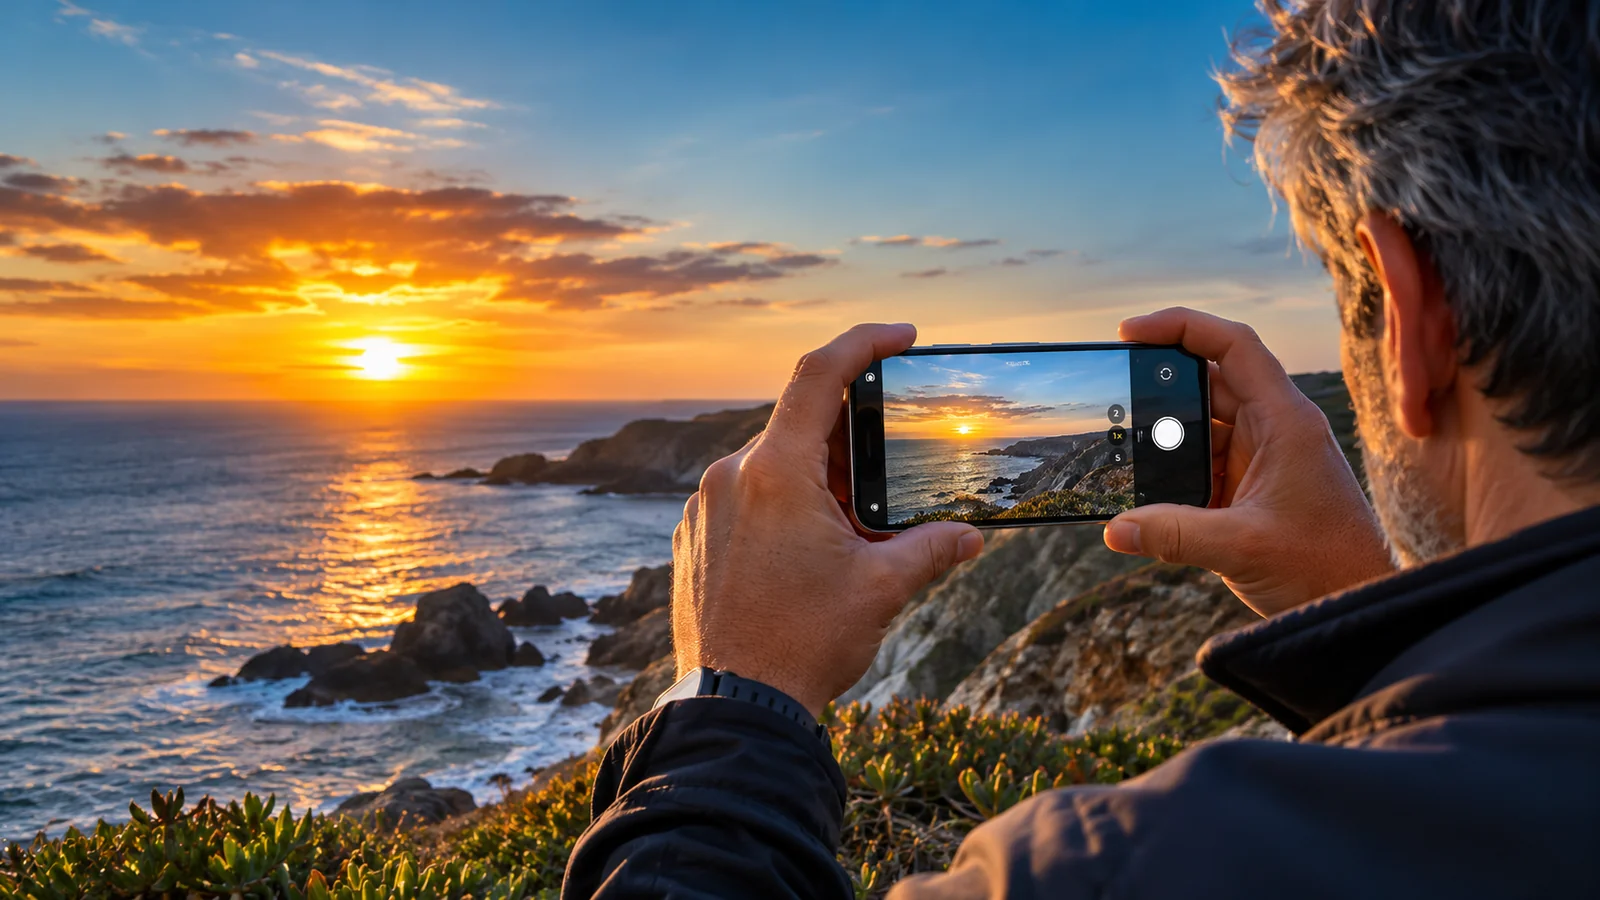
Landscapes gain depth when you combine foreground, middle distance and background. At the coast, for example, frame a nearby rock, the edge of the waves and the distant horizon. This creates several points of interest and avoids a photograph that feels flat.
For architecture, hold the iPhone as level as you can to reduce converging vertical lines. Perspective correction in Photos can help, but strong corrections may crop away valuable detail. When framing a tall building, try stepping farther back before dramatically tilting the camera upwards.
In nature, include an element of scale when useful: a small person on a path, a bench by the sea or a tree against mountains. These references communicate how large the place feels. Never put people at risk simply to create a more dramatic viewpoint.
8. Pets, products and macro: three demanding situations
Moving pets: find bright light, have the camera ready and photograph from eye level. Anticipation is more reliable than trying to react after movement has started. Prioritise the eyes and accept a few blurred frames in exchange for a better chance of capturing the right expression.
Product photography: use a simple background, a broad window as your main light source and a stable surface. Remove distractions, try a three-quarter angle and leave space for text if the image is intended for a website. Consistent lighting across several images makes a collection look professional.
Macro: compatible iPhones can focus very close to small subjects, often using the ultra-wide camera. Approach gradually, watch for the camera switching modes and avoid blocking the light with the phone. If focus starts hunting or the image jumps between lenses, pull back a little. Availability and behaviour depend on the model.
9. Night photography: stability before effects
In low light, compatible iPhones can activate Night mode automatically. Capture may take several seconds, during which movement reduces sharpness. Rest the phone against a stable surface, hold it with both hands or use a tripod when necessary.
Do not try to turn every nighttime photo into daylight. Keep some of the atmosphere created by shadows, streetlights and shop windows. Watch bright signs and reflections: too much exposure can wash away their texture and make light sources into featureless white patches.
Night mode works differently across devices, cameras and shooting modes. Activating flash or Live Photos can change its behaviour in some situations. Check the indicators on your own screen rather than assuming every iPhone offers exactly the same settings.
10. Editing on iPhone: a practical five-step workflow
Editing means deciding what the image should communicate. In Photos, open the picture and tap Edit > Adjust. Work in this order: (1) straighten and crop; (2) refine overall exposure; (3) recover highlights and shadows where possible; (4) balance colour and warmth; (5) review contrast, definition and sharpness with restraint.
Regularly compare your work with the original. Overly saturated skies, orange skin and exaggerated edges are common signs of heavy-handed editing. Photographic Styles on supported models can help you achieve consistency, but they should serve the scene rather than replace careful observation of light.
If you shoot Apple ProRAW on a compatible iPhone, you gain more flexibility over exposure and colour adjustments in exchange for substantially larger files. For blogs and social media, export a version sized for its destination and keep the original. Editing does not replace a good capture; it strengthens one.
Visual example: why careful editing matters
The same composition shown with a simulated darker, flatter treatment on the left and the editorial treatment on the right. This is an illustration: it is not an unedited original compared with a real edit.
The goal is not to recommend indiscriminate brightening. It is to show how perceived detail and colour change with exposure and the final treatment.
What to do next: a fifteen-minute exercise
Choose one subject—a plant near a window, an object on your desk or a view during a walk. Make three compositions: one wide, one using the rule of thirds and one closer. Repeat each with automatic exposure and a deliberate exposure change. Finally, pick the two strongest frames and correct the horizon, exposure and colour in Photos.
This exercise teaches more than trying every filter in a single session. On your next photo walk, you will understand which decisions actually changed the image. For more iPhone settings, see our hidden iOS features guide and the rest of our Guides and iOS section.
The steps above were checked against Apple guidance. Feature availability depends on your iPhone and iOS version.
What matters most
Better photographs come from a series of choices: light, position, composition, focus and editing. The iPhone provides powerful tools, but none can replace attention to the moment, the expression or the place. Choose the technique that serves the image, not the one that sounds most advanced. For filmmaking, read our guide to Action mode and Apple ProRes video.
For a smoother workflow across iPhone, iPad and Mac, read our Apple ecosystem and Continuity guide.
Frequently asked questions about iPhone photography
Can I take professional-looking photos with an older iPhone?
Yes. Better light, thoughtful composition, accurate focus and restrained editing improve photos from many models. ProRAW, macro and certain lenses depend on your device.
Should I always shoot at 48 megapixels?
No. Higher resolution can help with fine detail and cropping but often produces larger files. Lighting, lens choice and processing still affect the result.
Does Portrait mode replace a professional camera?
It can create convincing subject separation, but results depend on lighting and the iPhone model. Hair, glass and movement can reveal limitations.
Which app is best for editing iPhone photos?
The built-in Photos app covers many everyday adjustments to framing, exposure and colour. Specialist apps offer more tools but are not essential to begin.