The iPhone puts sophisticated filmmaking tools in your pocket, but professional-looking video is not a matter of enabling every option. You need to know when to use Action mode, when ProRes is appropriate and how to plan lighting, sound and editing. This guide explains practical steps for iOS 27 while flagging important hardware differences.
Editorial note. Not every feature is available on every model. Menus reflect iOS 27 and may vary by device, language and software version. Final quality also depends on lighting, sound and editing.
1. What makes footage cinematic — beyond ProRes
A cinematic image does not come from one setting. It is built through planning, composition, controlled camera movement, lighting, sound and editing. Higher resolution retains detail and a suitable codec helps in post-production, but neither can fix an unclear story, inconsistent exposure or muffled speech.
Before opening Camera, decide what you are making: a coastal walk, an interview, a product demonstration or a short narrative? Moving shots benefit from stabilisation; interviews demand intelligible speech; colour-intensive work may justify ProRes and Apple Log on compatible iPhones. A deliberate shot in an everyday format can be more successful than a technically impressive file with no visual purpose.
Start here: use 4K at 25 or 30 fps, steady framing and good light. Add complexity only when the project needs it. This guide separates creative decisions that apply to many phones from features that depend on specific hardware.
2. Action mode: steadier handheld footage
Action mode is designed for movement: following a person walking, filming a running dog or recording a trail with less visible shake. On a compatible model, open Camera > Video, show camera controls and activate Action. In iOS 27, the Action mode indicator can also be set to remain visible under Settings > Camera > Indicators.
Enhanced stabilisation uses a tighter crop to compensate for motion. Apple specifies a maximum 2.8K capture resolution, rather than 4K. It also works best in bright light: when light fades, the camera may struggle to maintain clean frames. Supported devices offer Settings > Camera > Record Video > Action Mode Lower Light for less well-lit situations.
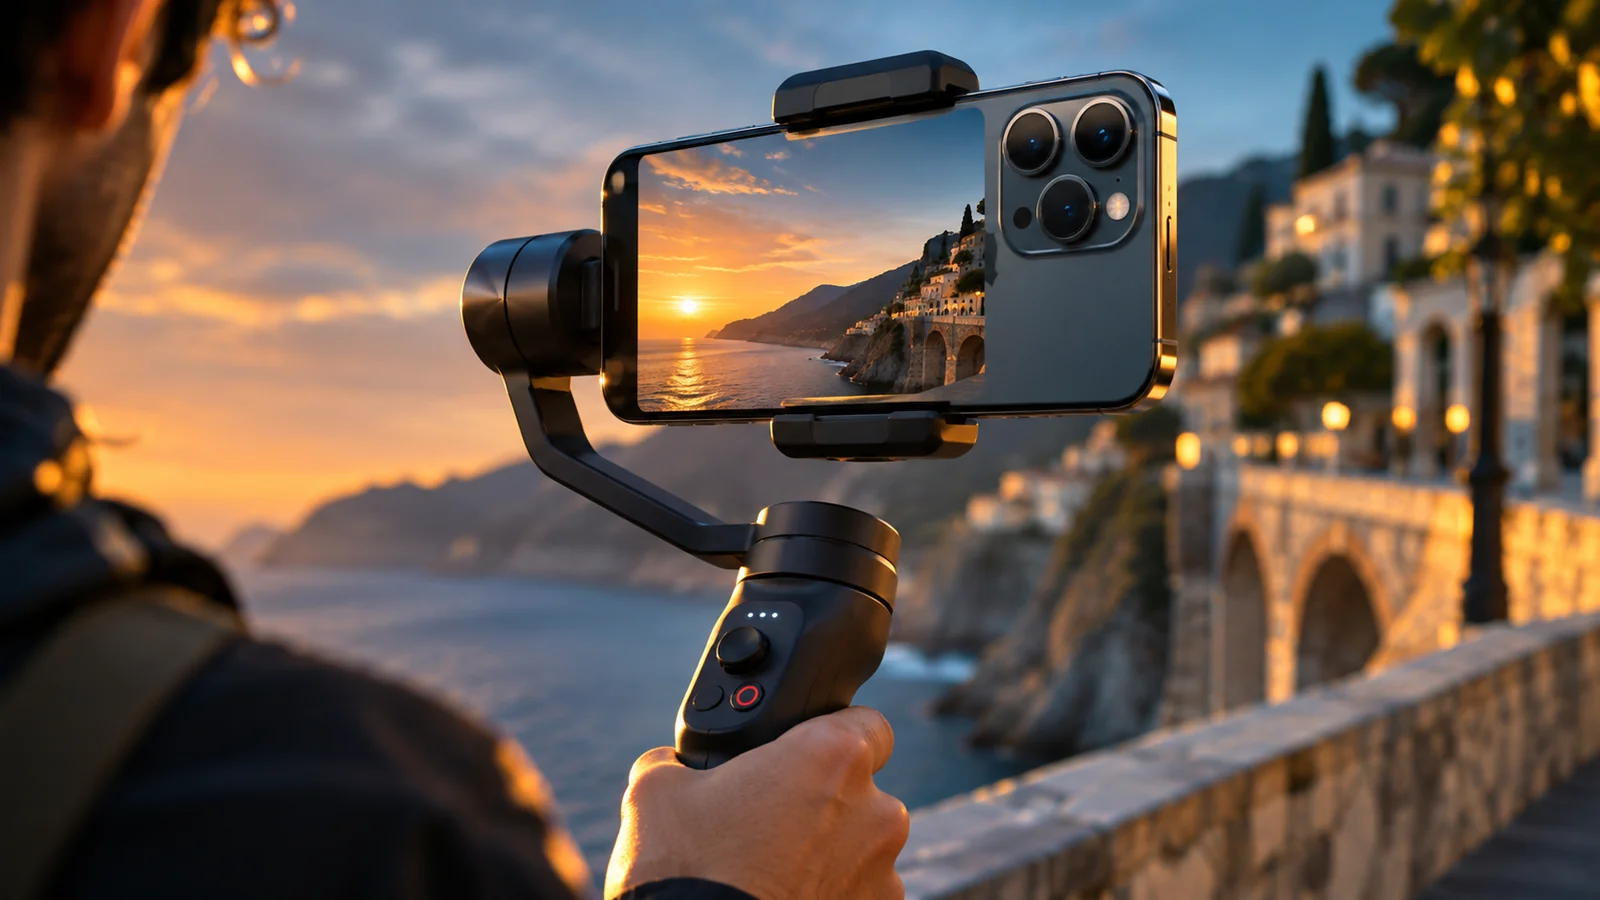
Try it: record the same ten-second walk with Action mode on and off. Compare stability, crop and fine detail. If you own a gimbal, test regular 4K video with that stabiliser too. A physical stabiliser may preserve a wider field of view without requiring Action mode.
3. Apple ProRes: when a professional codec is worth it
Apple ProRes is a codec family designed to preserve high image quality and support efficient editing workflows. On a supported iPhone, open Settings > Camera > Formats > Apple ProRes. Then use Camera > Video to choose the available ProRes format, resolution and frame rate.
The benefits matter when footage will be colour-graded, edited repeatedly or combined with material from other professional cameras. The trade-off is storage: Apple states that ProRes files can be up to 30 times larger than HEVC files. For everyday family clips, social posts and many straightforward projects, HEVC or H.264 is more convenient to record, transfer and archive.
ProRes is not available in Cinematic, Slo-mo or Time-lapse modes. Support varies by iPhone model and available storage. On iPhone 18 Pro models, the initial setup may require reserving storage for professional video. Check your phone's actual options rather than assuming every Pro device supports the same combinations.
4. Apple Log, Log 2 and ProRes RAW explained
ProRes is a codec. Apple Log is an image encoding approach intended to provide flexibility in colour grading. ProRes RAW records a different form of camera sensor information for more demanding workflows. These are not interchangeable terms. Footage shot in Log may appear low contrast before grading; that is part of the workflow, not necessarily a recording error.
On compatible models, choose a ProRes Log option in video settings. Apple documents a choice between Log and Log 2 on iPhone 17 Pro and 18 Pro models. ProRes RAW, supported by select professional models, requires a compatible application such as Final Cut Camera; it is not a universal feature of every iPhone.
To compare formats, record a bright scene with both shadow and highlight detail in standard HEVC and, where supported, Log. Import them into a colour-managed editor and compare how much grading latitude each provides. Never record an unrepeatable event entirely in Log before testing your editing and delivery workflow.
5. Choosing 4K and 24, 25, 30, 60 or 120 fps
Resolution describes spatial detail; frame rate describes the number of recorded images each second. Traditional cinema is associated with 24 fps. A 25 fps setting can suit European production environments, while 30 fps is versatile for many online videos. Higher rates such as 60 fps can make fast movement look smoother; 120 fps may support slow-motion work where the selected camera and recording format allow it.
In iOS 27, review Settings > Camera > Record Video, or tap the resolution and fps values inside Camera. Available combinations depend on the device. Under artificial lights in Europe, 25 or 50 fps where offered can help with flicker, though shutter timing and the lighting equipment also matter.
Practical choices: 4K/24 or 25 for a short narrative or calm landscape; 4K/25 or 30 for an interview; 4K/60 when filming fast action on a supported device. High-frame-rate ProRes may also require compatible external storage. Do not assume every Pro-branded iPhone supports identical settings.
6. Cinematic mode: depth and focus transitions
Cinematic mode uses a simulated depth-of-field effect to separate a subject from the background. It can transition between focus points during recording and, with compatible clips, after recording. That makes it useful for short narratives, interviews and product footage where viewer attention should move between subjects.
Select Cinematic in Camera. Tap the person or object you want to emphasise, and adjust available depth or exposure controls on supported models. Open the clip in Photos > Edit to change supported focus points or depth settings; compatible clips can also be edited in iMovie.
Use the effect with restraint. Hair, glasses and transparent objects may reveal artificial edges when blur is too strong. Set a sensible distance between the subject and background, and prioritise good light. Important: Cinematic mode and ProRes are separate recording modes and cannot be used simultaneously. Choose the effect that best serves the shot.
7. Lighting, composition and intentional movement
Golden-hour light can make outdoor scenes feel warm and dimensional. For indoor interviews, place the subject near a window with soft side light. At midday, open shade often gives faces more controlled contrast. The quality of the light matters as much as the number of pixels recorded.
Plan a sequence with wide establishing shots, medium shots that show the action and close details that reveal texture or emotion. Use the camera grid and level when available. Hold the frame for a few seconds before and after each action so the editor has room to make cuts. Resist the temptation to use digital zoom constantly.
Every camera move should have a purpose. A slow sideways move can reveal layers in a landscape; a gentle push-in can draw attention to a product. Gimbals are helpful, but not essential. In low light, a simple tripod or stable support may be a better choice than aggressive electronic stabilisation.
8. Sound matters: dialogue, wind and atmosphere
A sharp image cannot rescue speech that is difficult to understand. Before the real take, make a ten-second audio test and listen back with headphones. Keep the microphone close enough to the speaker, choose a quieter location and avoid handling noise. If you use a third-party microphone, confirm the connection, settings and app permissions.
For interviews, a compatible lavalier or directional microphone can improve intelligibility. Outdoors, wind protection matters. Some newer iPhones offer wind-noise reduction and audio-mix features, but those tools are not substitutes for careful recording.
Capture 20–30 seconds of room tone or location ambience without dialogue. It is useful for bridging cuts during editing. On a beach, for example, natural wave sounds can connect several camera angles and make the finished film feel continuous.
9. External SSDs and Final Cut Camera
ProRes consumes substantial space, so check free storage before leaving home. On compatible models, an external USB-C SSD can record ProRes directly through Camera or Final Cut Camera, provided that the cable, drive speed, format and power requirements are met.
Apple specifies exFAT formatting for external drives used with Final Cut Camera. ProRes RAW or ProRes 4K at 120 fps requires a suitable data cable, such as USB 3.2 Gen 2 (10 Gbit/s) or better. A cable intended only for charging may not work. Test the complete iPhone–cable–SSD setup ahead of an important session.
Final Cut Camera provides professional controls including ISO, shutter speed, white balance, codecs and colour space. Locking white balance can help maintain visual consistency between shots. Features still depend on the model: an application cannot add hardware codec support where it is absent.
10. Editing and export: turn clips into a finished story
Begin by selecting the strongest shots and cutting duplicates. Arrange the clips into a clear story before adjusting colour. Photos and iMovie can handle straightforward work, while a compatible professional editor gives you more control over ProRes, colour grading and complex timelines.
Choose a pace that fits the subject: slower shots for a calm landscape and more concise cuts for instructions or action. Do not let music overpower dialogue. If you recorded Apple Log, apply an appropriate colour transform or grade before delivery rather than simply pushing contrast and saturation.
Export in a format that matches the destination. For ordinary sharing, HEVC in 1080p or 4K can offer a useful balance of quality and file size. Keep ProRes originals safely backed up if you expect to revise the edit. Finally, watch the delivered file on another screen and listen for changes in audio level.
Mini production plan: a 45-second coastal film
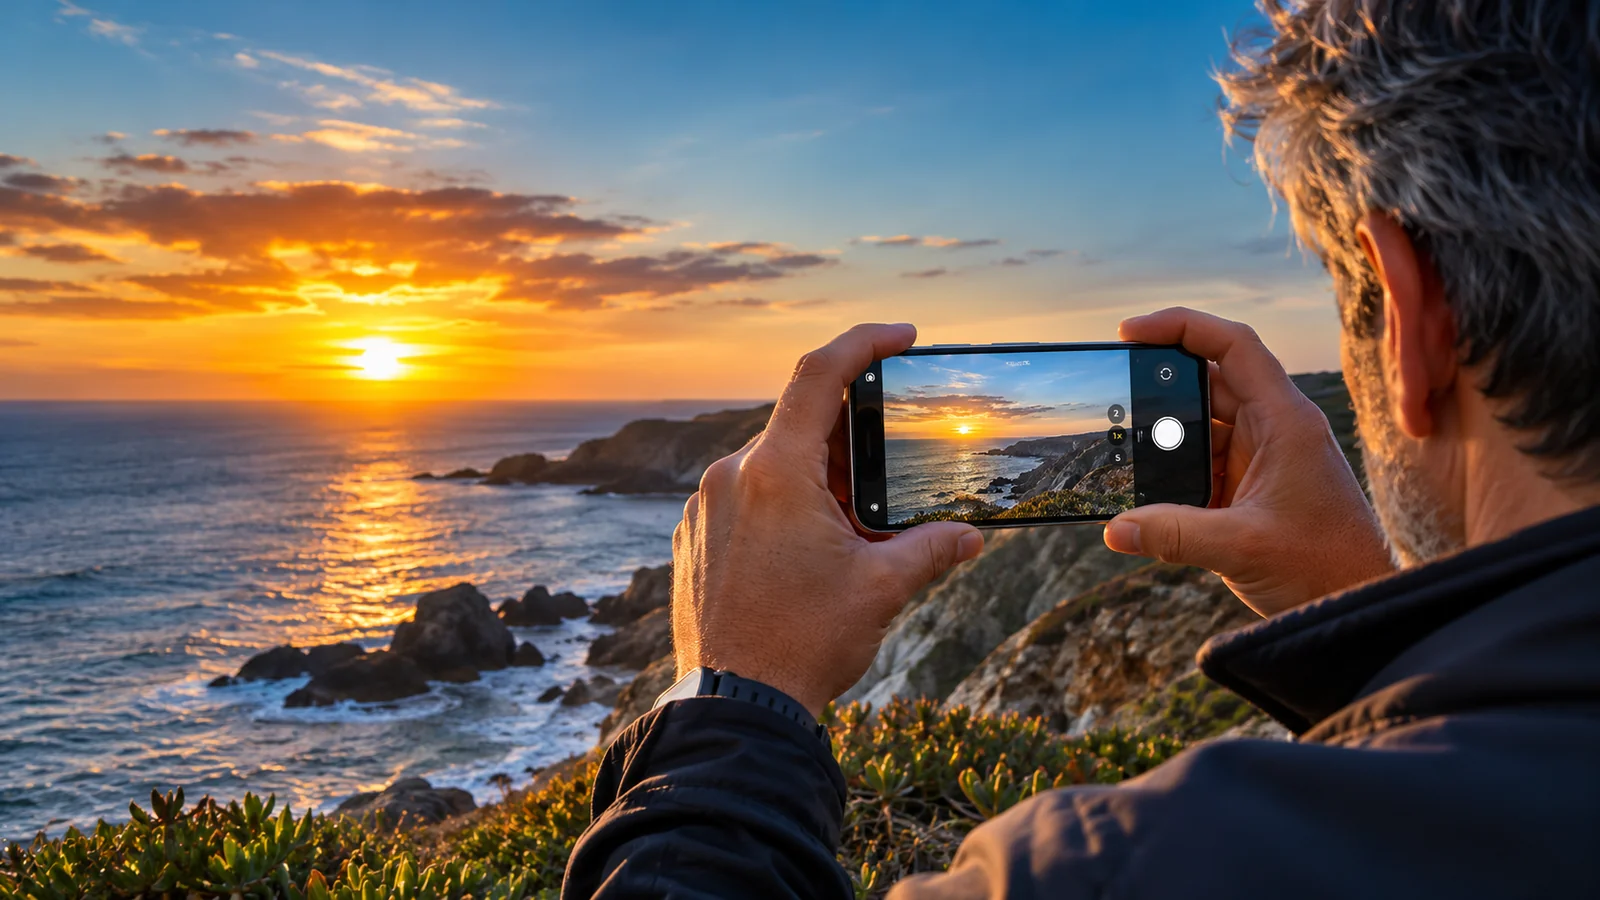
0–5 s: a stable wide shot of the coast at sunset. 5–15 s: a walking shot, comparing Action mode with standard video. 15–25 s: a medium shot of someone watching the sea, with controlled focus and exposure. 25–35 s: close-ups of waves and hands on a railing. 35–45 s: return to a wide shot with natural wave sounds.
Start with 4K at 25 fps for static shots and sufficient light. Use Action mode for movement, remembering its 2.8K resolution. Capture ambient sound and leave a few spare seconds around each shot. The aim is a coherent sequence, not the highest number in every setting.
Features and requirements were checked against Apple technical specifications and user guides. Availability varies by device.
Where to start
Action mode addresses stabilisation. ProRes helps demanding post-production. Lighting, sound and composition give the footage meaning. Start with a short project, compare results and adapt settings to the story you want to tell. For still images, visit our iPhone photography guide.
Frequently asked questions about iPhone video
Does Action mode record in 4K?
No. Apple specifies a 2.8K capture resolution for Action mode. Choose a supported standard video mode when you need 4K.
Should I use Apple ProRes for every video?
No. ProRes is useful for demanding editing workflows, but files can be far larger than HEVC. For everyday clips, HEVC is often easier to manage.
Can I record ProRes in Cinematic mode?
No. Apple does not support ProRes recording in Cinematic, Slo-mo or Time-lapse modes.
Do I need a gimbal to use Action mode?
No. Action mode uses built-in stabilisation. A gimbal is an optional accessory for controlled movement and smooth shots in standard video mode.
Do all iPhones support Apple Log 2 and ProRes RAW?
No. Availability depends on the iPhone model and may require compatible applications and external storage.