Your iPhone holds photographs, contacts, location history, messages, documents and access to personal services. Protecting that information takes more than switching off one setting: it means distinguishing cross-app tracking from the permissions apps request to access data and sensors.
This practical guide explains what to change in iOS 27 and the trade-offs of each choice. The goal is to reduce unnecessary exposure without breaking navigation, messaging, payments or other useful functions. Settings were cross-checked against Apple documentation on 12 November 2026; labels and available options may vary by device, language and software version.
Practical note. These settings reduce exposure but do not guarantee anonymity or stop every form of data collection. Keep features you actually need.
1. Stop cross-app tracking requests
Open Settings → Privacy & Security → Tracking. Switch off Allow Apps to Request to Track if you want apps to stop presenting new requests to track you across other companies’ apps and websites. Alternatively, leave that master setting on and deny individual apps in the list. Revisit apps you approved long ago, especially those you rarely use now.
This is Apple’s App Tracking Transparency framework, or ATT. When you select Ask App Not to Track, the developer must not use Apple’s advertising identifier (IDFA) for tracking or sidestep your refusal through other identifiers. But the setting does not stop all data collection: an app can still process data needed to provide its own service, measure some first-party interactions or use information governed by other permissions.
Example: a shopping app does not need to observe your activity inside unrelated apps to display your orders. Refusing tracking should not prevent you from using its ordinary features. Distinguish personalised advertising from essential functionality: they are not the same thing.
2. Limit location access and precise positioning
Location data can reveal journeys, work routines and places you visit. Go to Settings → Privacy & Security → Location Services and review apps individually. For many, While Using the App or Ask Next Time will be sufficient. Reserve Always for services where background access serves a genuine purpose you understand.
Open an app’s location settings and check Precise Location. A weather forecast may be useful with an approximate position, while a ride pickup may require your precise address. The right choice depends on what that particular service does. Recheck older permissions too: permanent access you approved during a trip may no longer be necessary.
Important: disabling all Location Services can interfere with navigation, device finding and safety features. Also distinguish permissions granted to apps from sharing your location with people through Find My. For the latter, review Find My → People or use Safety Check, discussed below.
3. Review camera and microphone access
Visit Settings → Privacy & Security → Camera and then Microphone. Review which apps can access these sensors and revoke permission when there is no clear reason for it. A video-conferencing app needs access during a call; a game with no voice features probably does not need ongoing microphone access.
iOS shows coloured indicators while sensors are being used: a green indicator means the camera, or camera and microphone, are in use; an orange indicator means the microphone is being used. Control Centre can help identify which app recently used these resources. An indicator by itself does not prove wrongdoing: it may simply reflect a feature you just opened.
If access looks unexpected, close the relevant function, review permissions and investigate the App Privacy Report. Removing a specific unnecessary permission is more helpful than disabling useful functions indiscriminately.
4. Share only the photos and contacts an app needs
Open Settings → Privacy & Security → Photos and inspect the permissions for each app. Where supported, choose selected photos instead of full-library access. Posting one image to a listing or sending a photo through a form does not require an app to browse years of personal photographs.
Repeat the exercise under Contacts. A messaging app may benefit from finding people you know; other apps request your address book merely for convenience. Consider that your contacts include other people’s numbers and details. Depending on the app and your iOS version, you may be able to limit which contacts it sees.
Review Bluetooth, Calendars, Local Network and other categories under Privacy & Security as well. A smart television controller may legitimately need local-network access; an app with no connection features may not. Evaluate each permission against the service’s actual purpose rather than using a blanket rule to switch everything off.
5. Turn on and understand the App Privacy Report
Open Settings → Privacy & Security → App Privacy Report and enable it if necessary. From that point, your iPhone begins collecting a local record of permitted accesses to data and sensors, along with network activity. It can show when an app accessed location, camera, microphone, contacts or photos over the previous seven days.
Start with Data & Sensor Access and App Network Activity. A photo-editing app accessing your photographs may be expected. If a simple app contacts many domains, investigate the context before assuming it sells personal data: embedded content, advertising, analytics and other network services can account for some connections.
The report is a transparency tool, not an antivirus scanner or automatic proof of unlawful tracking. Apple says the report data is encrypted and stored on your device. Disabling it also deletes its recorded history. A monthly check, and another after installing unfamiliar apps, can help identify permissions that no longer serve you.
6. Strengthen Safari and Wi-Fi privacy
In iOS 27, navigate to Settings → Apps → Safari and review the privacy controls. Keep Prevent Cross-Site Tracking enabled and review protection against known trackers learning your IP address. Consider keeping Fraudulent Website Warning active, and check whether websites should be allowed to request camera, microphone or location access.
Web tracking is not identical to tracking across apps. Cookies, embedded components and advertising scripts have their own techniques. Safari’s protections limit several of them but do not make your identity invisible. Private Browsing reduces some locally stored session history; it is not a guarantee of anonymity from websites, your employer or your internet provider.
Under Settings → Wi‑Fi → information button for the network, check Private Wi‑Fi Address, which helps reduce identification across networks. If you subscribe to iCloud+, consider iCloud Private Relay, checking eligibility and potential effects on services that depend on location before enabling it.
7. Protect lock-screen content and sensitive apps
Even without network tracking, someone near you may read messages, notification previews or calendar appointments displayed on your locked phone. Open Settings → Notifications → Show Previews and consider When Unlocked or Never, depending on your needs. Pay particular attention to banking alerts, business email and sign-in codes.
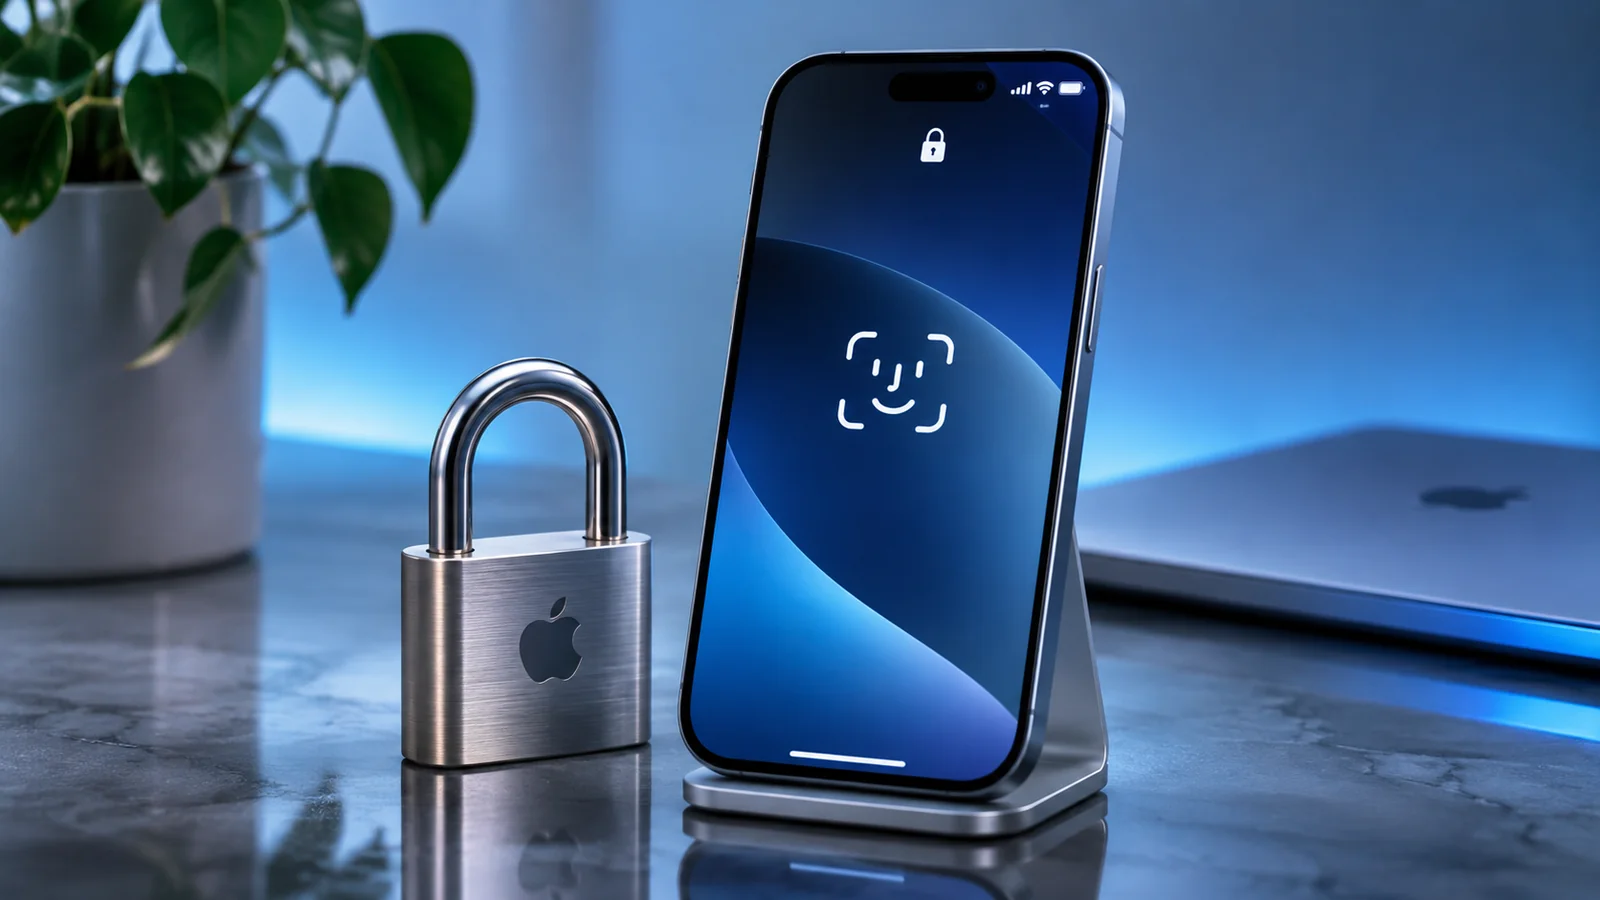
For a sensitive app, touch and hold its Home Screen icon and, where available, choose Require Face ID or the applicable authentication method. Some downloaded apps can also be hidden in a protected folder. Not all built-in apps support these options, and hiding an app does not erase its download history or prevent its service from collecting data.
Review Settings → Face ID & Passcode → Allow Access When Locked to decide which controls really need to remain available. Aim to prevent unauthorised people from viewing personal information without obstructing emergency contacts or other essential features.
8. Secure your Apple Account and iCloud data
Under Settings → [your name], check that you recognise the devices signed in to your Apple Account and review authentication and recovery options. Use a strong device passcode, two-factor authentication and unique passwords for important services. An app with limited permissions can still put data at risk if the account used to access it has been compromised.
Open Settings → [your name] → iCloud to understand what is synchronised and which apps store information in the cloud. Optional Advanced Data Protection expands end-to-end encryption to more iCloud data categories, including backups and photos. However, it requires compatible devices and a reliable recovery method; Apple cannot simply restore protected content if you lose every means of account recovery.
Do not enable advanced protection before understanding the recovery process. Encryption and sharing are separate issues: an album you intentionally share with someone remains shared regardless of additional protection on your account.
9. Use Safety Check to review information sharing
If you have shared calendars, photos or location with other people, visit Settings → Privacy & Security → Safety Check. Manage Sharing & Access allows you to review who receives information and which apps have permissions, step by step. It is useful when your circumstances change or you simply cannot remember what you previously authorised.
Emergency Reset is designed for situations where you need to stop many forms of sharing quickly and reassess account security. It is not just a convenient spring-cleaning shortcut: it may interrupt legitimate location sharing and arrangements that other people depend on. If it is safe to do so, review the consequences before confirming the changes.
Safety Check has limits. It does not automatically change third-party social media sharing, outside accounts or every other device. A thorough review may involve those services too. If you suspect someone is misusing your information, use a trusted device to review credentials and seek support appropriate to your circumstances.
10. Repeat a realistic ten-point privacy checklist
You do not need to perform a complete audit every day. Set aside around fifteen minutes when setting up a new iPhone, after a major iOS update or when an unfamiliar app unexpectedly requests data. Start with Tracking, review location, camera, microphone, photos and contacts, and finish with App Privacy Report and Apple Account sharing.
Quick checklist: ① tracking requests controlled; ② permanent location access limited; ③ precise location granted only where needed; ④ camera and microphone checked; ⑤ selected-photo access preferred; ⑥ contacts access reviewed; ⑦ privacy report enabled; ⑧ Safari and Wi‑Fi protections considered; ⑨ notifications and sensitive apps protected; ⑩ Apple Account and sharing arrangements checked.
How do you know it worked? Do not chase a made-up privacy score. Ask instead: does each app have only the information it needs? Do I know who can see my location? Can I recognise unusual sensor access? Could I recover my account if the iPhone were lost? These answers demonstrate more control than a long list of disabled switches.
Apple documentation consulted on 12 November 2026; menu labels can change with software updates.
Privacy is a set of deliberate choices
Blocking third-party tracking is a useful starting point, but a complete review also covers location, sensors, photo access, web browsing and account sharing. For additional preparation, read our lost or stolen iPhone emergency guide and the guide to overlooked iOS features. The best configuration is one that limits unnecessary access while leaving genuinely useful functions available.
Frequently asked questions
Does disabling app tracking stop all data collection?
No. The Tracking setting limits tracking across other companies’ apps and websites for purposes such as advertising. It does not replace data permissions or eliminate all processing required for the app’s service.
Can I refuse location permission and still use an app?
It depends on the function. Many apps work with approximate location or access only while in use; navigation and pickup services may need greater accuracy at particular moments.
Does App Privacy Report show everything an app does?
No. It reports certain data and sensor accesses and network activity for a limited period after activation. A connection alone does not establish its purpose or legality.
Does Safari Private Browsing make me anonymous?
No. Private Browsing limits some information stored on your device, but websites, networks and service providers may still observe aspects of your connection.
Should I turn on Advanced Data Protection for iCloud?
Consider it if you understand the requirements and have a secure recovery method. Stronger encryption also means more responsibility for recovering your account and data.