Moving to a new iPhone can be simple, but success depends more on preparation than on the transfer screen itself. A good checklist saves time and reduces the risk of losing messages, photos, apps, or important access credentials.
Editorial note. This guide combines practical advice, official documentation and everyday usage criteria. It does not replace official Apple support.
What to do before you begin
Before starting the migration, make sure the old iPhone is updated, that you have enough free space, and that you have a recent backup. Also confirm your Apple ID password, device passcode, and access to two-factor authentication.
If you use banking apps, authentication tools, health records, work apps, or important subscriptions, make a short list of anything that may require reactivation. That step avoids unpleasant surprises later.
Choosing the transfer method
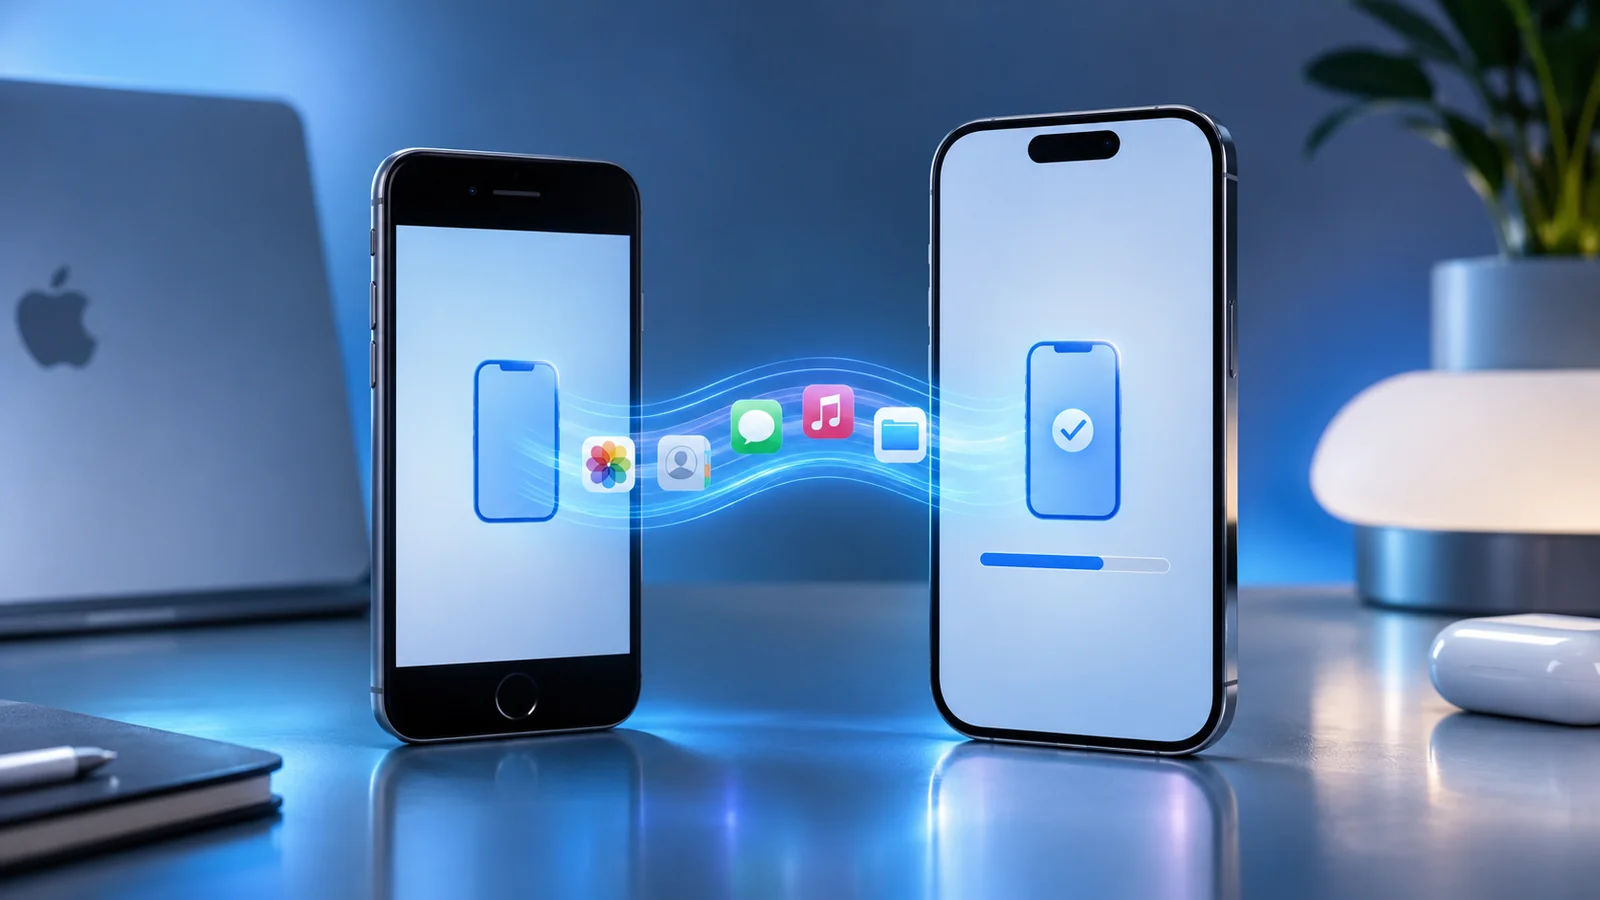
The most convenient option is usually Quick Start, which sets up the new iPhone based on the old one. Depending on the amount of data involved, you can also restore from iCloud or from a backup made on a computer.
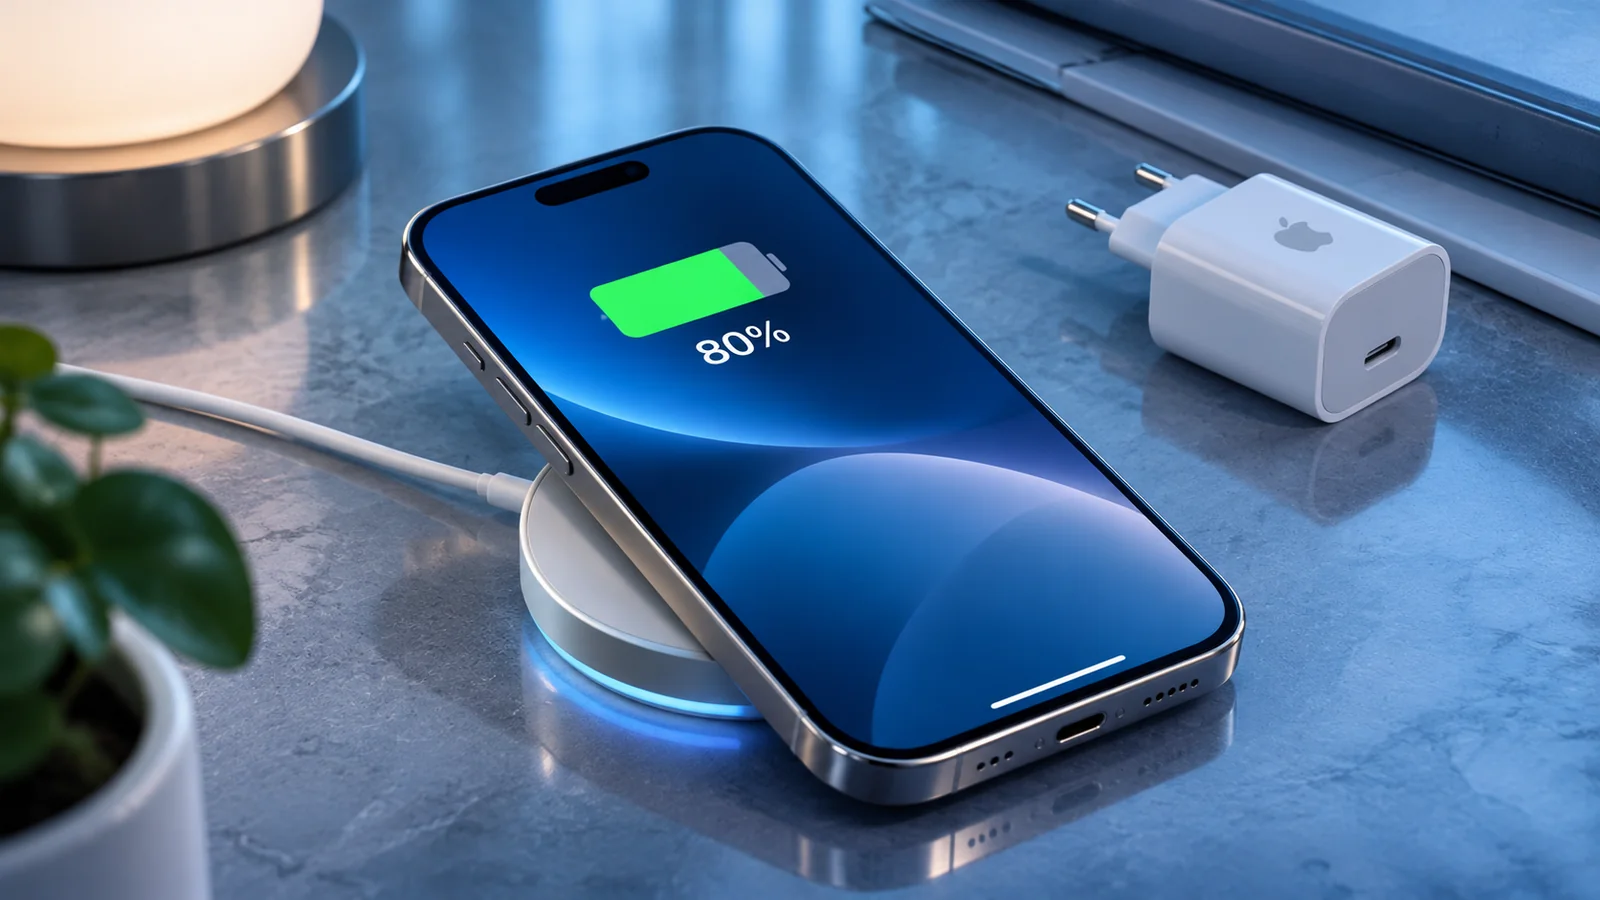
The best method depends on how much time you have, the quality of your connection, and how much local content you keep on the device. If you have a large photo or video library, allow extra time and keep both phones connected to power.
During the transfer
Once the process begins, avoid using either iPhone for other tasks and, if possible, keep them near each other and connected to power. Low battery, network interruptions, and impatience are common reasons for incomplete transfers.
Do not panic if some apps take longer to reappear or re-download their content. In many cases the main structure transfers first and the rest completes afterwards in the background.
What to verify right afterwards
After the migration finishes, check the essentials: contacts, photos, messages, notes, WhatsApp, email, authentication apps, banking apps, cards, eSIM, and Wi-Fi access. It is also wise to test the camera, audio, and phone calls.
If you use an Apple Watch, AirPods, or other accessories, confirm that pairing still works. A phone that looks ready may still hide small unfinished details.
Before erasing or selling the old iPhone
Do not erase the old device immediately. Keep it for a while until you are sure everything works properly. It is sensible to recheck documents, older photos, less-used apps, and message histories that matter.
Only then should you sign out, erase the device, and remove it from your account. Whether you plan to sell it, give it away, or keep it as a backup, that step should come after the transition feels fully stable.
A short final checklist
1) Create a backup. 2) Confirm Apple ID access and passcodes. 3) Choose the migration method. 4) Check essential data after the move. 5) Test calls, critical apps, and authentication. 6) Only erase the old phone once everything is confirmed.
Following that sequence greatly reduces the chance of problems. The best transfer is not the fastest one; it is the one that ends without loss or unnecessary stress.
This reference documents procedures and settings related to the topic. Check for changes on your iPhone or in Apple documentation.
View the official sourceWhat matters most
If you prepare the switch calmly, moving to a new iPhone stops feeling risky. A good checklist turns the migration into a predictable process with less stress and less rework.